Ikea $50 Standing Desk
With working from home for the past year and a half I have found I sit way too much. This is the second time in less than 6 months where I have thrown my back out. So I decided I would try a standing desk. I started with a Tripod mounted desk. My feet hurt after just a few hours, but I slowly adjusted. So I decided to do it with a real desk. How ever my office is too small to accommodate another desk. I love my current desk, It has held up well for the past 2 years. And that is saying something as I am usually very hard on desks. So I started looking at risers I could put on my desk. Those were either super expensive or not very good. Then I stumbled on an old blog post that described a $22 dollar Ikea desk . I liked the idea, but I thought I could tweak it a bit to fit my desk better.
First I wanted a longer and narrower table for my monitor. I own a 34″ monitor, and it would not look right on a small table top, Plus coming out 22″ from the back would take up most of my desk top. What I found instead was the LACK tv stand. Same height as the LACK side table, only longer and narrower. The TV stand was $15.
Next with the longer table I would need a longer shelf for my keyboard. This was also important to me as I keep a work journal and write in it all the time. Having room for it on my shelf was important to me. With the table 35″ wide I needed to get a longer shelf than was in the original post, I went with the next size up, an EKBY JÄRPEN. It is also $15.
This shelf is only designed to have brackets 31″ apart, so I knew I would need an additional bracket for the middle to support the shelf. The EKBY VALTER are perfect. This puts the keyboard at exactly the right height for my posture. So I bought 3 of them at $5 each. This brought my total to $45. I already had wood screws, so no extra costs there. I did pick up a pack of felt feet for $2, just so it did not scratch my desk
From there it was time to assemble. The LACK tv stand was super simple to put together. Once that was done I added two of the brackets. One to each of the legs. Then I centered the shelf and started to mount it.
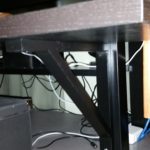
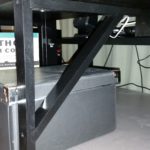
 First thing I noticed was that it was very front heavy. It would be very easy to topple over. This is where I was glad I bought an extra bracket. I spun it around so it would not only support the extra length, but also prevent the whole thing from falling over on me.
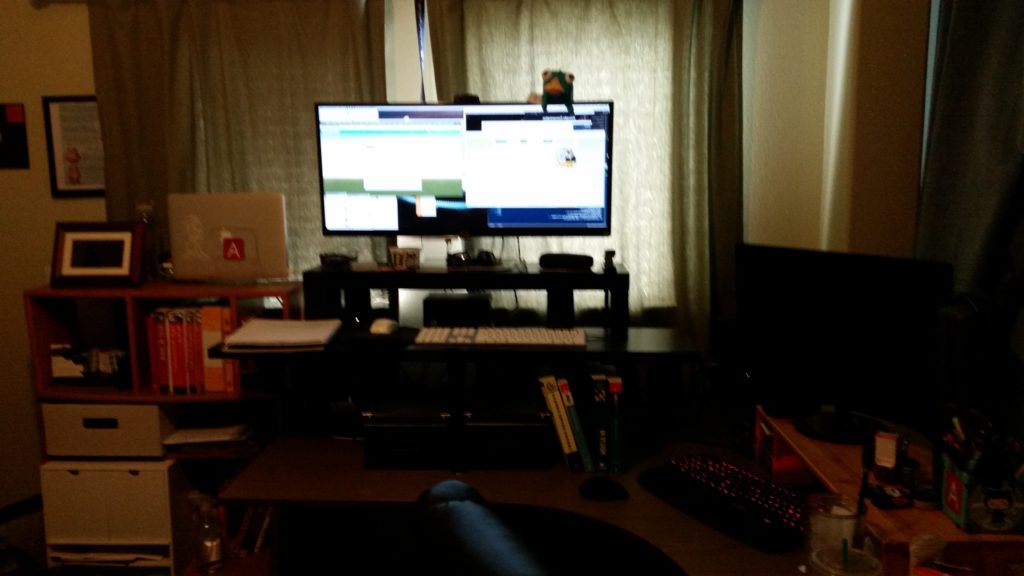
The finished product sits perfectly for me.
